A Super Spooky Halloween DIY
I whipped up something over the weekend that was so easy and so cool that I actually kind of impressed myself — a truly rare occurrence! This is a DIY you can do without even leaving your house because who even does that anymore?? All you need is a computer, a printer, and a little imagination. Everyone I showed it to insisted I put a tutorial on the blog, so here we are! I’m going to show you how to…

TURN YOURSELF INTO A GHOST!!! (Don’t take this too literally ok??)
I wanted to change out one of the prints on my mantle to something festive, and BAM!
FYI I'm not a graphic design genius. I don’t even have Photoshop. I just use the free programs that came with my mac, and combined with the free version of Canva, I can pretty much knock out whatever I’m looking to do for the blog, instagram, or anything else design-related. So that’s what we’ll use here.
Let’s get started!
First, you need to have a photo you want to convert. If you don’t have one, take a few on your phone. You’re cutting the background out, so you could literally do this in your kitchen. I think a more serious expression looks extra realistic!

This is a pic from our wedding, and I always thought there was something kind of haunting about it. Maybe because we’re both already so pale 😂
So once you’ve selected your spooky pic, you’re going to open it in Preview.
There are a few ways you can cut out the background:
1. The Shortcut

You’re now going to “trace” your outline using the Smart Lasso tool. Click on one part of the outside of your body, and hold down the cursor as you make your way around your frame. I hold my thumb down and then use my pointer finger to “trace” the photo. DO NOT let up until you reach the point you started, or it will cut the photo off in a weird spot. Unless that’s what you’re going for, in which case, party on!
Once you make your way all the way around, your image should look like this:

When you let your fingers up, it should look like this:

Then, before you click anything else, you are going to invert the selection like this:

Once you invert the selection, it should look like this:

Hit the delete button, and it will clear your background!
If you get this pop up, click Convert.

Your photo should look something like this:

But you’re not gonna leave all those crazy edges, are you? HECK NO.
2. The Route for Perfectionists
Maybe Smart Lasso made all your dreams come true, in which case you can ignore this step altogether. But if Smart Lasso isn’t getting the job done all the way (which might depend on your tracing abilities and the quality of the photo), there’s an easy way to fix it!
Above the Smart Lasso tool is Lasso Selection. Click that, and you’re going to do the same thing, but you can do it in smaller sections. I tend to just make little strangely-shaped circles all the way around the photo until it’s cleaned up to my liking. You can zoom in if you need to see it better/want to be a psycho about cutting out the background. Other people might judge you, but not me because, well, you know how I roll LOL.
Trace a section of the photo and hit delete to remove the background.

I started by cleaning up around Justin’s arm…

So easy, right? Repeat until you’re happy with the photo and then hit save!

That’s it!
Just kidding, but that’s the most difficult part of this project. You’re like 90% of the way done!
Get a Gatorade and hydrate for the home stretch!
If you don’t have Canva, I loveeeee it. You can create an account for free! Highly recommend!
I used a poster template because my frame holds an 8x10 photo and the proportions are close-ish.
Go to the left side panel and click Uploads. Then, click Upload an image or video to upload your ghastly cutout!

Next, upload your background of choice. We used cemetery pics, because what’s spookier than a cemetery?! If you’re not weird like us, you might not have those kind of photos lying around, so here are a few options you can download and use:

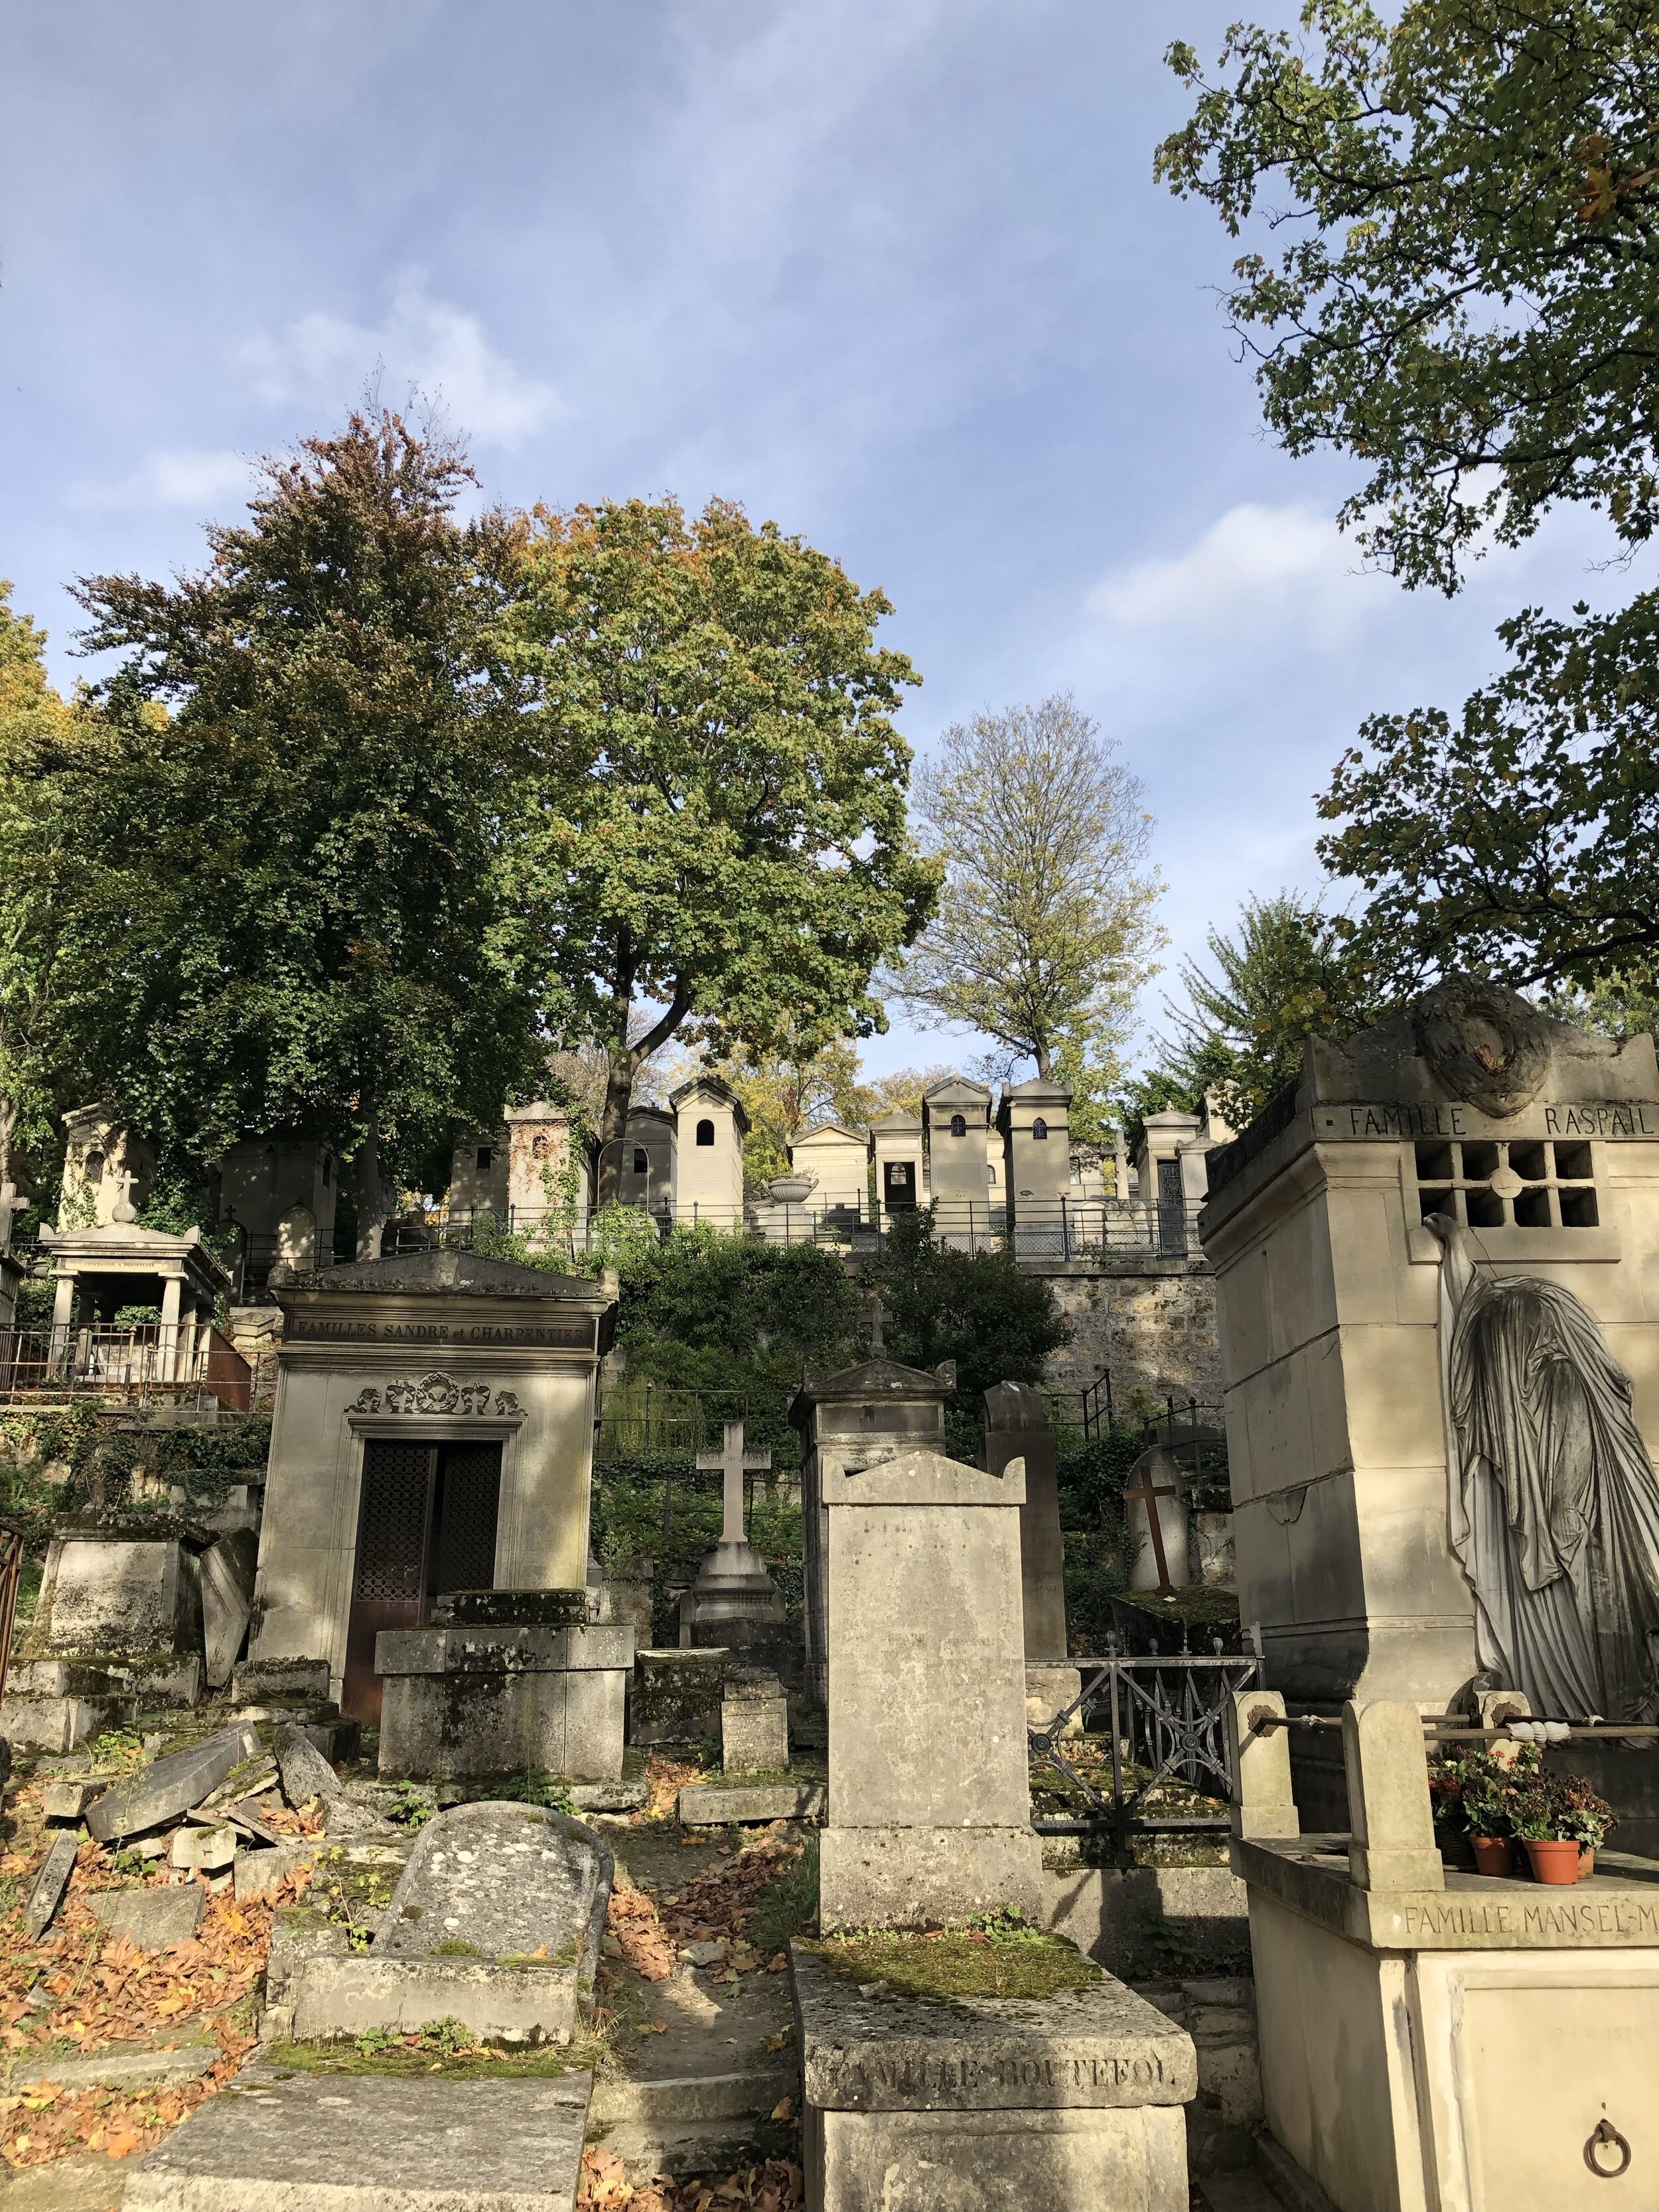
These were taken in Père Lachaise Cemetery in Paris, which I’ve just learned is the most visited necropolis in the world! We went during our trip to Europe last October. It was absolutely fascinating!
Once you’ve uploaded your background and your cutout, click to select your background photo and it will be placed on your template like this:

You can stretch it and center it however you’d like. Next, click Filter and select one of the black and white options:

I used the Street filter and then adjusted the transparency here:

Then, click on Uploads again and select your cutout photo. Place it where you want it in the scene and then adjust the size if you want. Apply the filter and tweak the transparency. I did 72% transparency for the cutout photo, but just play around with it and have fun! Keep messing around with it until you get it how you want it.
If for some reason your layers get mixed up, right click and adjust them accordingly by sending them backward or forward!

When you’re finished, save your design by clicking the arrow at the top and then selecting the file type:

I saved mine as PNG because it’s a higher quality option.
Finally, print your photo, frame it, and place it somewhere that everyone can marvel at how crafty you are — like instagram!

This used to be a broken frame with a stock print in it, but no more! I’m so in love with how it turned out!
That wasn’t so bad, was it? You can totally do this! If you don’t have a printer, you can make prints at FedEx or Staples for super cheap. Maybe save your photo in a few different formats to make sure you don’t have to make multiple trips. You can put them on a flash drive and they will do the rest.

