Side Door Makeover (Before and After Pics!)
When I asked you what you wanted to see more of on here, there was a resounding YES to home content. I’m not as confident posting that, but I'm going to try to quit being a weirdo and just DO IT.
So here we go!
On Friday the 13th, after our first ever offer on a house was rejected, a listing came through for a house that stopped me in my tracks. I’d seen listing after listing come through my email, and I was exasperated. I did not enjoy the home-buying process at all. But when I saw the picture of the outside of the home, a cool mid century A-frame, I was reeling.
I don’t know if it was love, but it was definitely obsession at first sight.
As I flipped through the online photo album multiple times, I knew in my heart that this was our home. Now, almost 4 years later, I can tell you that obsession has sometimes turned to compulsion, but the past few years have been a labor of love, and I’ve enjoyed almost every second.
I thought I would take you through the process of this side of the house, and maybe one day I can work my way around the whole house!
So the driveway side of the house was the most abysmal.
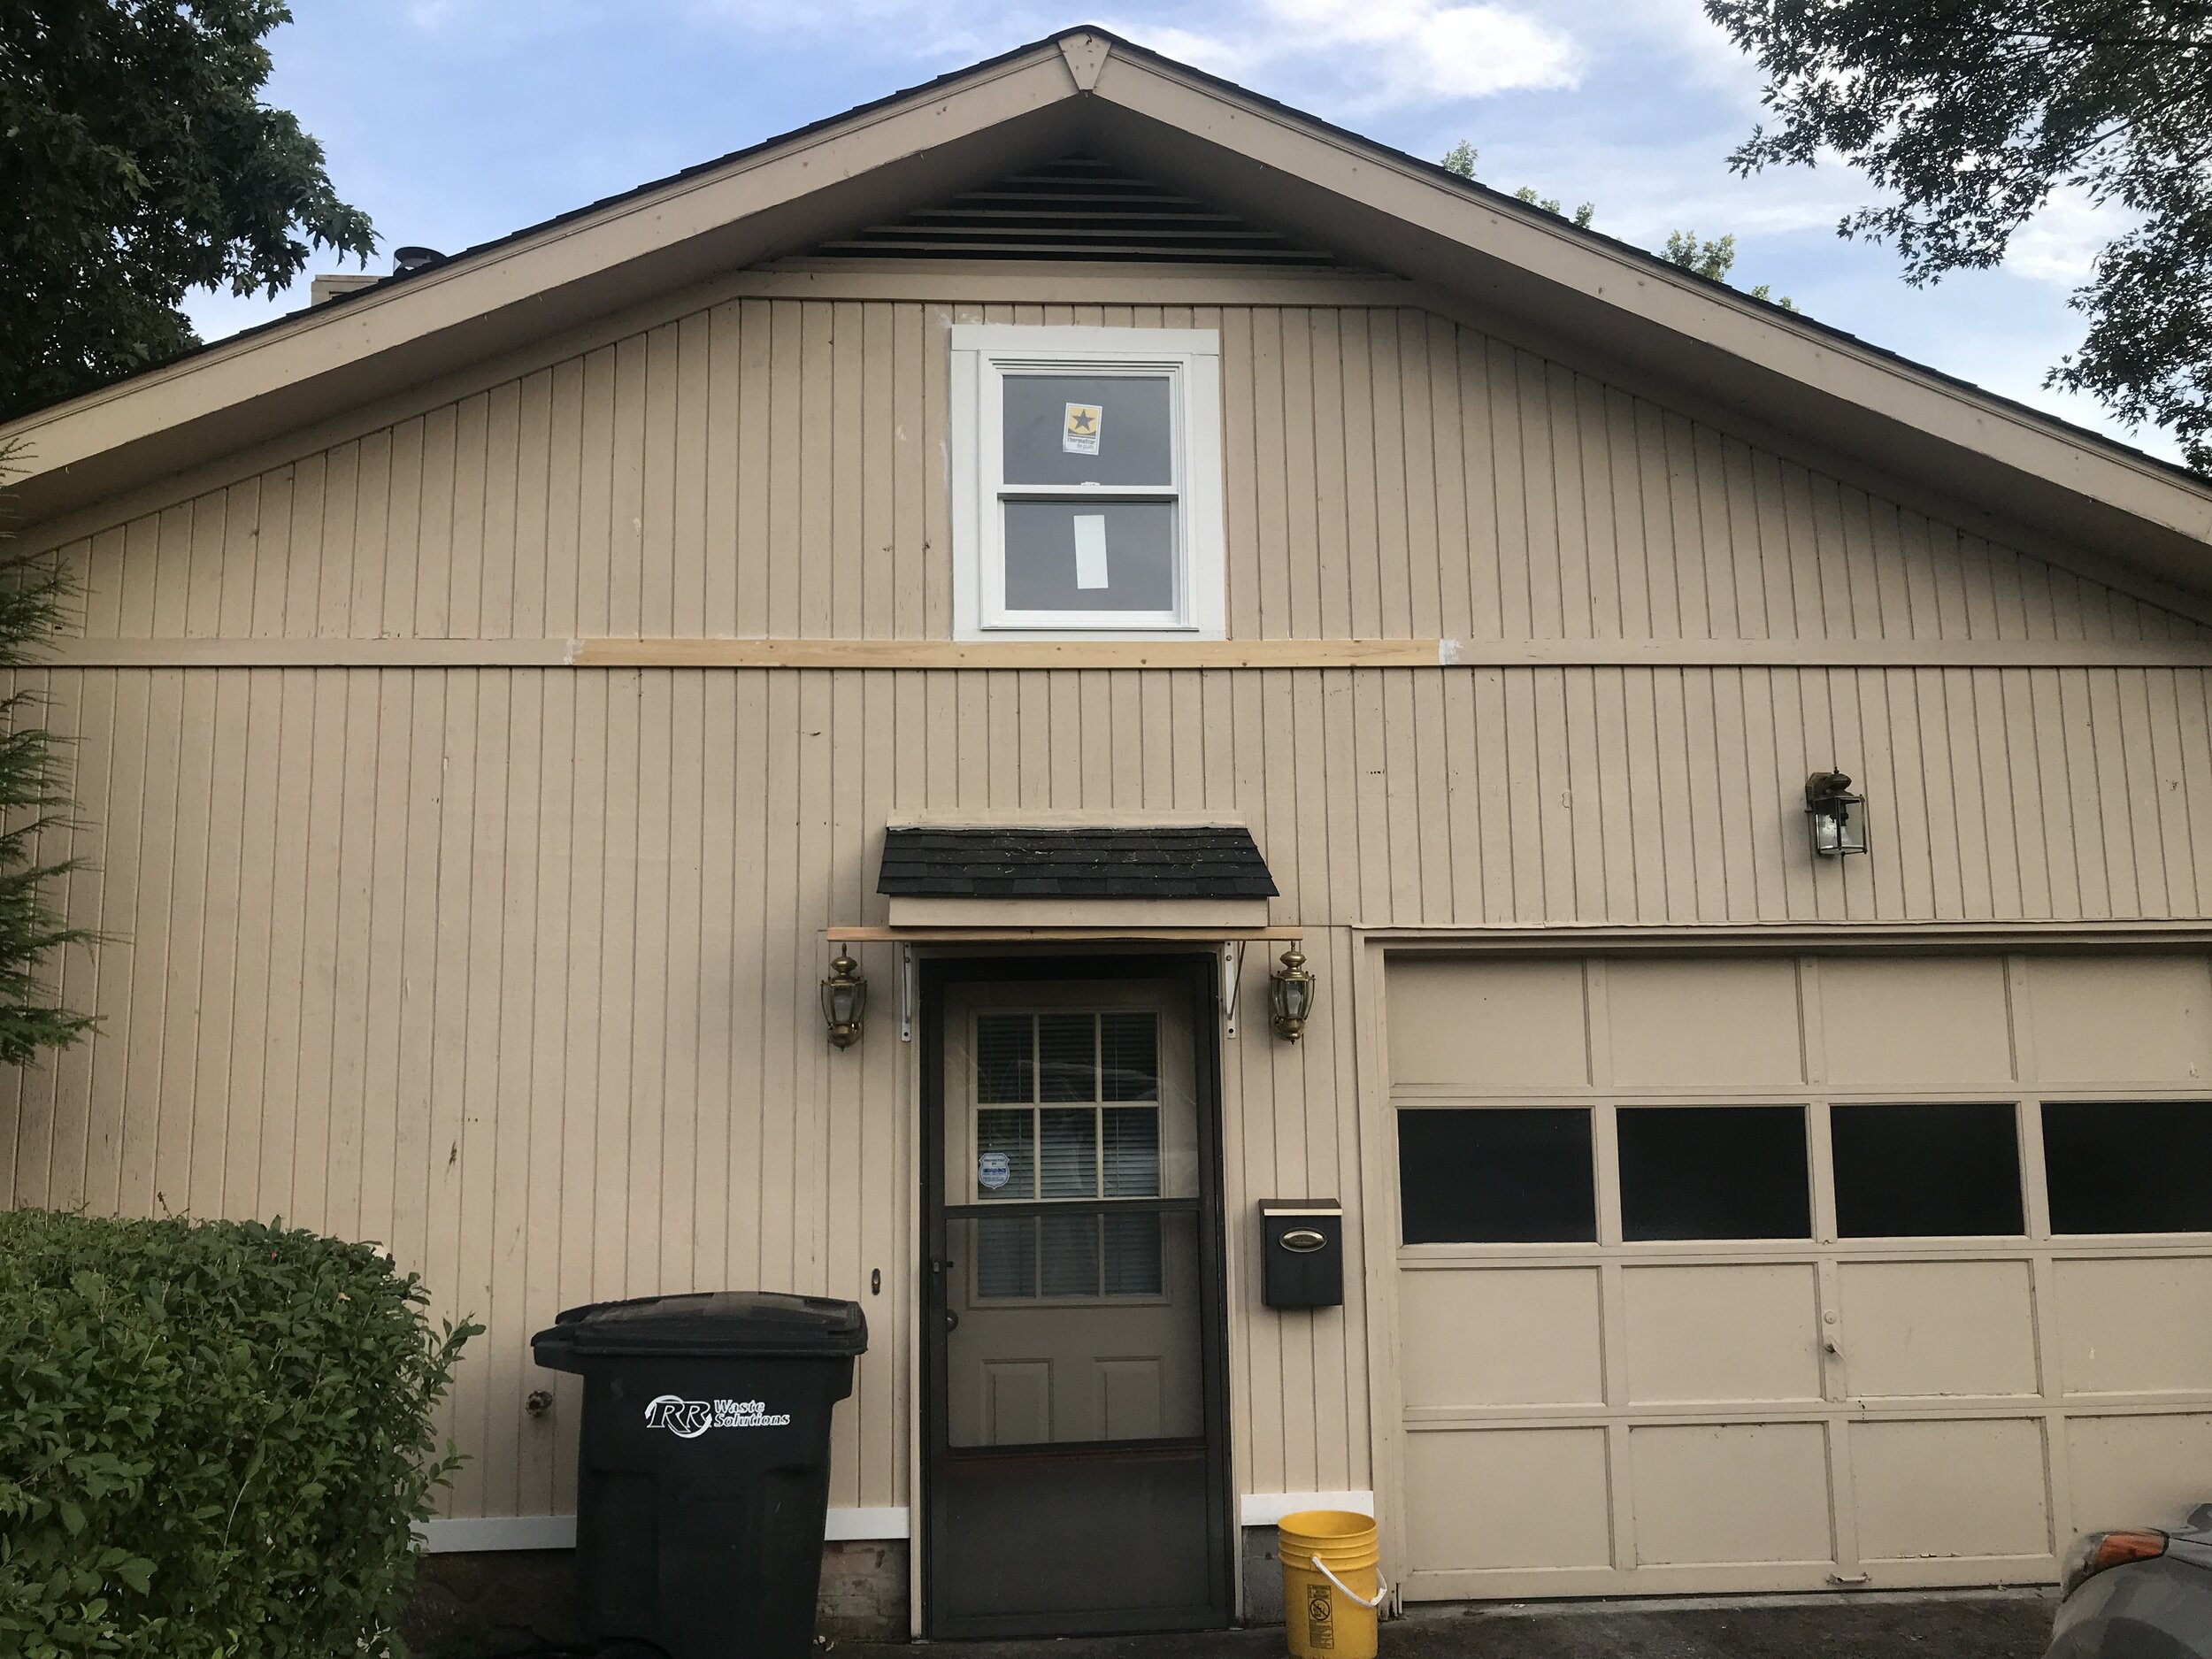
I don’t know that I have a full blown before photo of this update because I never seem to think to take photos until a project is already underway 🤦🏼♀️ I’ll get better! (Maybe? Probably not LOL).
This was what the house looked like prior to any updates except the obvious window replacement and trim addition. This was what we saw every single time we came home. WOOF, right? Literally every single thing on the side of the house was the same gross nude color except that busted up screen door. It was honestly bizarre. Side note — if you’re thinking about getting new windows, DO IT. They might be my favorite improvement so far, despite the dogs constantly torturing me by smearing their wet noses all over them all. day. LONG.
A few summers ago we paid someone to repair the rotted siding and paint the entire exterior, which then turned into also replacing the windows, rebuilding the trim around the windows, installing a border piece of trim around the entire outside of the house, installing new doorbells and lighting, and I can’t even remember what else. If I get someone in my house, I will add at least a half dozen other items to their to do list. It is a proven fact.
We removed the screen door, the mailbox (that was taped shut, so what was the point??), the flag pole base, and did all of the aforementioned updates. While it looked much better, it still wasn’t all the way there for me. Until recently, I had zero energy to give to this effort.

Our garage remained the same nude color for over 2 years after the exterior renovation was complete because we told our painter that we were planning on replacing it. And then our dog had to have a surprise hip surgery which was about the same cost as replacing the garage door, so we tabled that expense.

Last September I decided to give our old, partially-rotted wood garage door new life by painting it with a 5 gallon bucket of the exterior paint I found when cleaning out the garage. This maybe took 2 hours total (if you exclude drying time between coats). I figured freshly-painted rotted wood had to look better than just old rotted wood — kind of the same way we tell ourselves that tan flabby skin is better than pale flab. I’m team pale flab because I’m lazy but you do you! 😂
And honestly, this may be a helpful tip for those of you who are perfectionists like I am: if there’s something you don’t like about your home, almost ANYTHING you do to it will be an improvement. You don’t have to be a master carpenter or interior designer or architect. Just start playing with paint colors and moving things around and getting creative. And hey, even if you end up not liking something that much, at least it will look newer. My whole mentality for this house has been, “well, it can’t look any worse.” And that’s a great place to start!
Okay, back on track!
When we purchased the home, the panels on either side of the door (which I’m assuming were stone) were no longer there. My former roommate, Ashley, suggested I fill those areas with siding, which I thought was brilliant.

So, I *cough* stole my neighbors’ tools *cough* and trimmed a leftover siding piece that was hanging out in my garage from the exterior reno a few years back. And for a dose of reality, I cut those siding pieces on the day we left for Europe (6 months ago), and they sat there, raw and unfinished, on the floor of my garage until 2 weeks ago.
One of the days for the Quarantine Advent Calendar challenged everyone to cross something annoying off of their to do list, and I decided it was high time to wrap this project.
This was how I did it!
I caulked around the edges of the siding pieces to help seal out any moisture. Then, I painted a few coats with the leftover exterior house paint I found in the garage. When the paint cured, I attached the siding pieces with gorilla glue caulk.
Afterwards, I replaced the doormat, potted my new plant, and then removed the home security sticker (which was honestly the most difficult part of this entire process because 40 year old adhesive is no joke!).
Finishing this up didn’t take very long, it was just a multi-step process. And honestly, it was a pretty inexpensive fix. Mostly everything was already hanging out in my garage from previous projects!
So here is the finished product:


If you’re not a DIY-er, it’s okay! I’ve always been a little crafty, but I didn’t get really hands on until we bought our house. Some of the work I’ve hired out, and some of it I’ve done myself. I’ve learned so many skills over the past 4 years, and I have so much more to learn. But I’m excited for the journey!
Being able to work on my house has given me such a sense of purpose, especially over the past year. And as we’re all spending a lot more time in our homes these days, I hope this has inspired you to get creative and explore ways to make your home a place you truly love.
Thank you so much for reading along, and if you have any questions, feel free to hit me up in the comments!
