Mudroom Progress Update!
At some point last year, in the midst of my joblessness and boredom, I decided it was imperative that I make some changes to our mudroom. The mudroom might seem like a pretty insignificant room, and ours definitely was, but considering this is the first room we see when we come home and the last one we see before leaving, I thought it was imperative that I give it a facelift. It just had some weird vibes! The situation in there was pretty dire, so I rationalized that it would be a good place to learn and hone some new skills that I could possibly employ elsewhere.
This was what we started with:


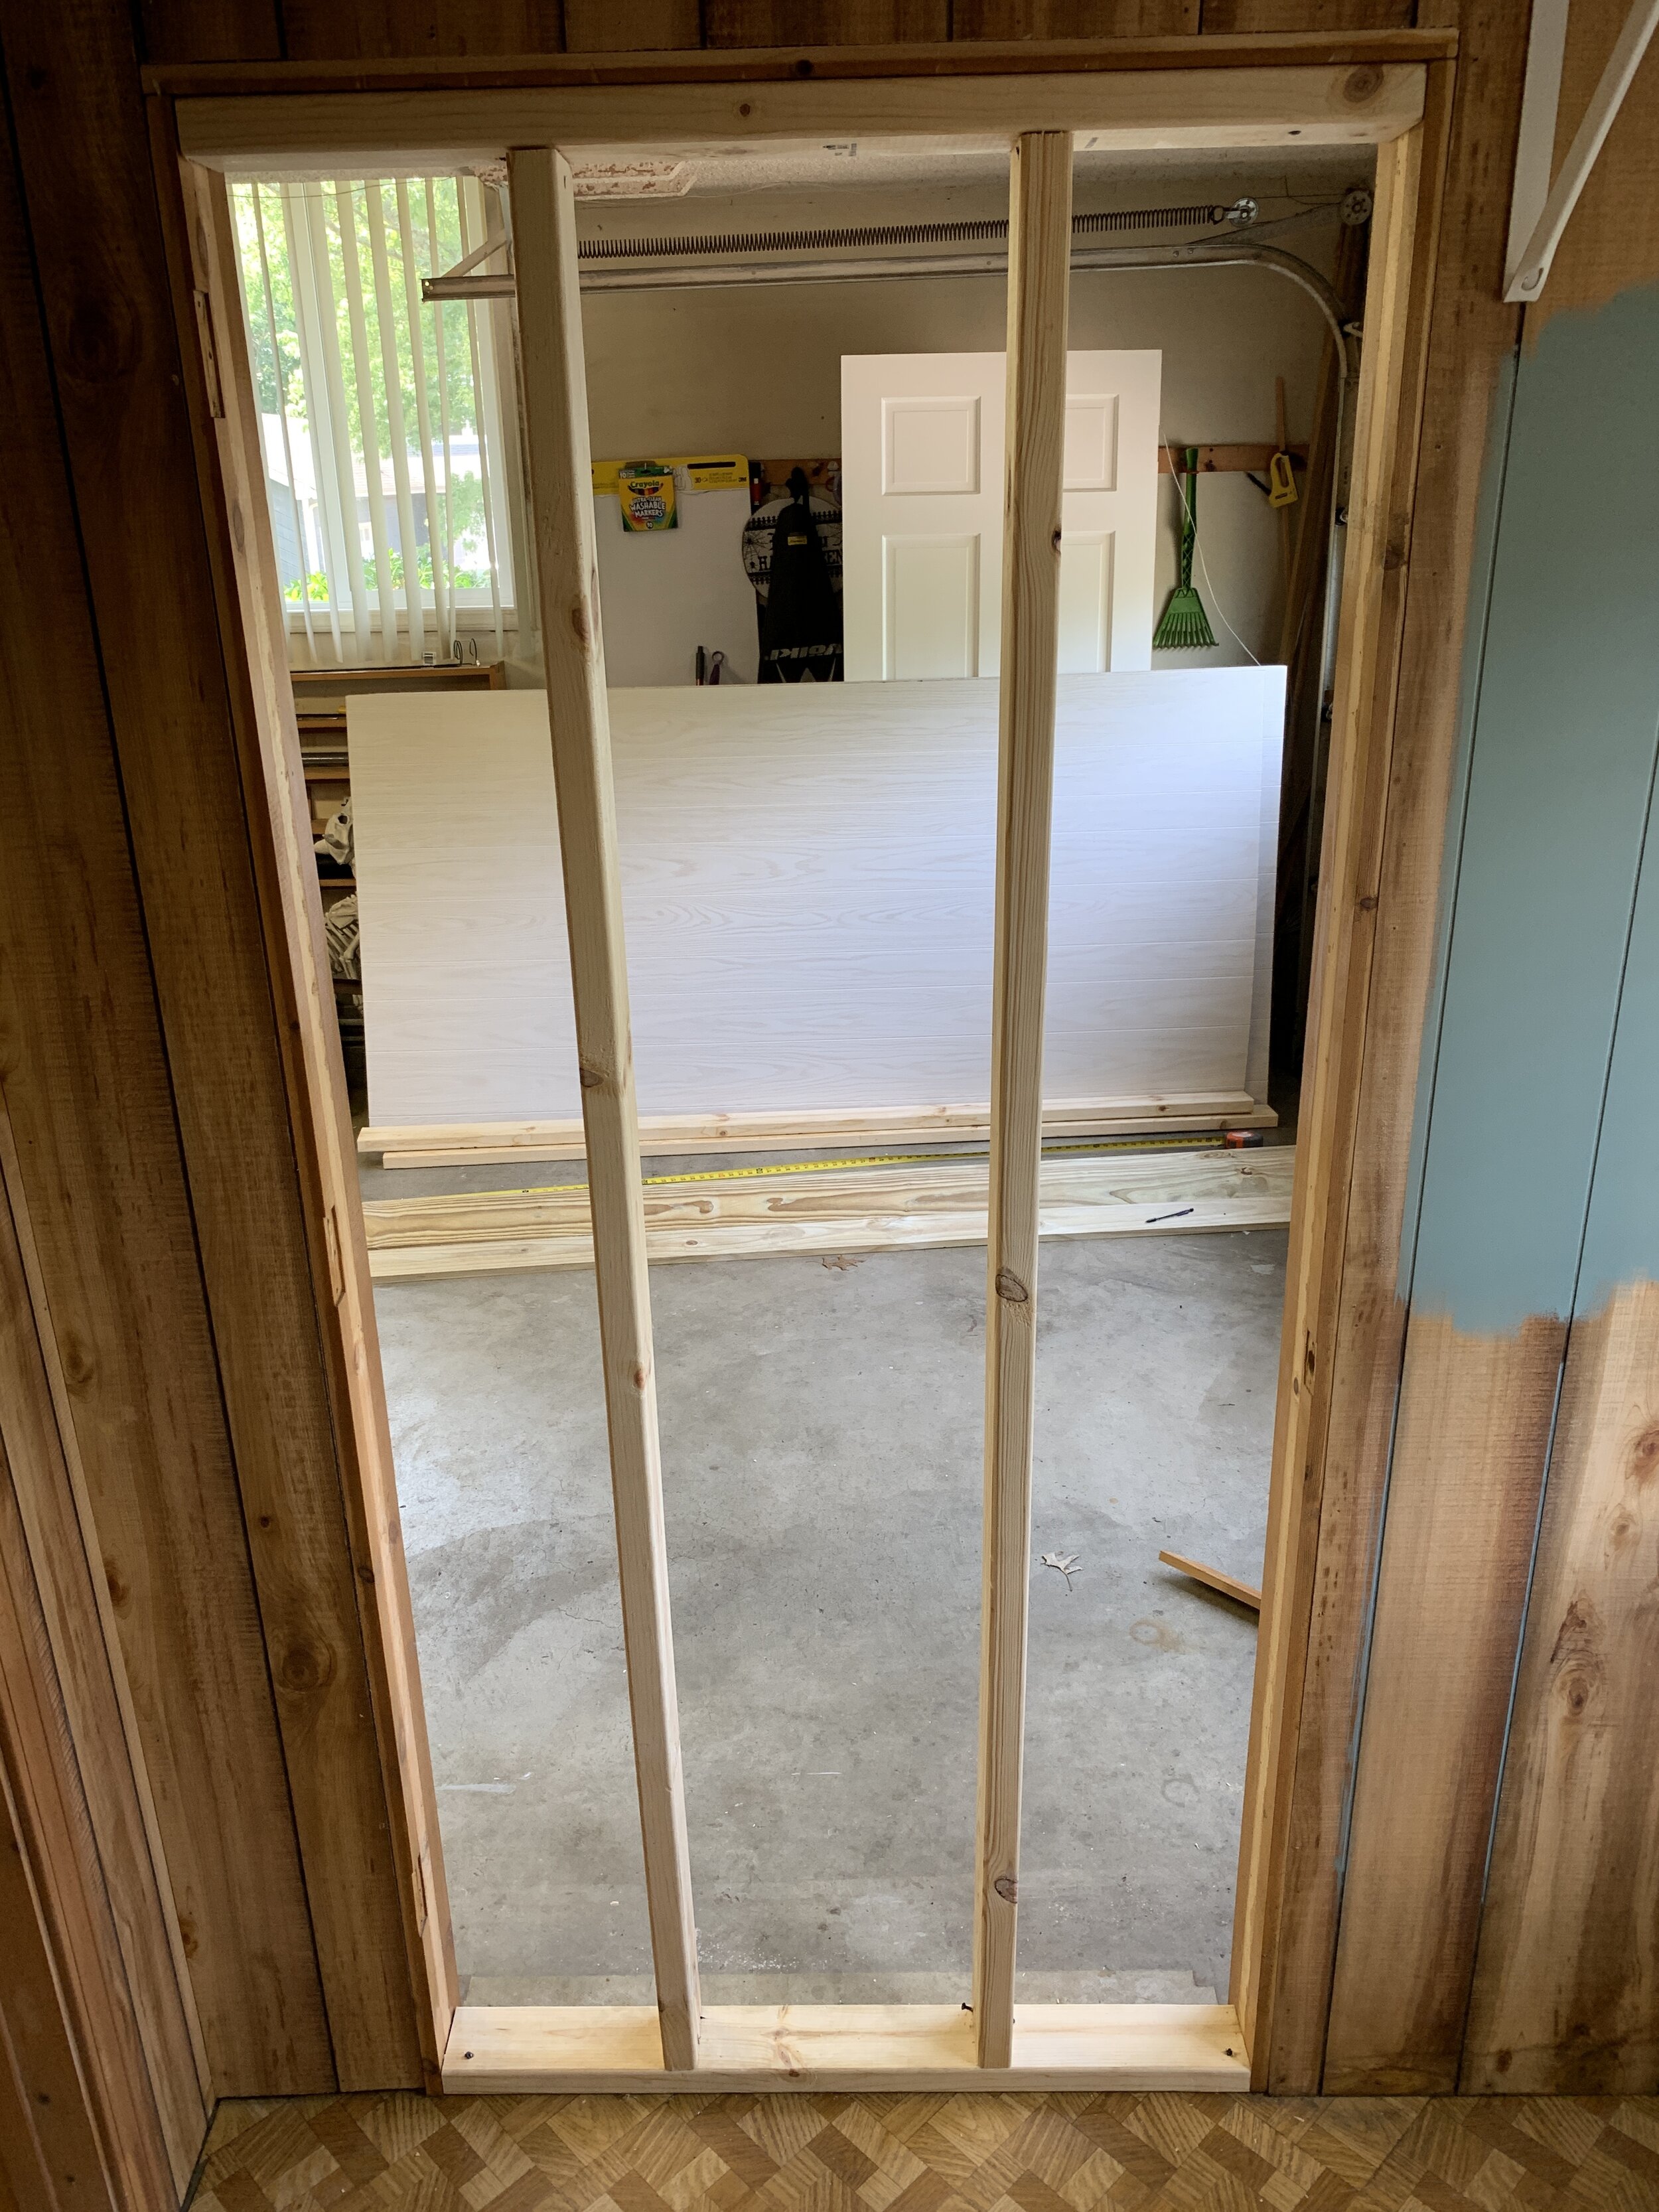
If you can’t tell from the photos, there was a door on every single wall, and 2 of those doors went to the garage. WTH? If you added in the closet doors, there were 6 doors in a maybe 35 square foot area. It was some fun-house level craziness. So I set out to make improvements.
My goals:
Remove one of the doors to the garage and close up the wall
Cover the popcorn ceilings
Find a storage solution for the recycling
Organize the remaining items
Paint
Put down new flooring
Update the lighting
This is a progress update for the room. At this point, the room is about 10% away from completion, but as I’ve all but styled it to my liking, the perfectionist in me is going to put the final images in a separate post for you once it’s fully completed.
I’m very quick to minimize my efforts, but looking back through these photos, I’m really proud of myself. I’d never done any sort of framing or electrical work prior to this project. I learned so much! And if I can do it, you definitely can. I mean, I’m handy, but I’m not a carpenter. This project was a real test of my patience because I am such a perfectionist and am not good at not being good at something. But I just kept repeating “progress over perfection” to myself every time I couldn’t get a piece of paneling to line up or whenever I’d strip a screw. And slowly but surely, one borrowed power tool and cuss word at a time, I got there!


Framing the wall was easier than I anticipated, but trimming the paneling was much more difficult than I expected. However, I’m thrilled to report that I still have all 10 fingers attached!
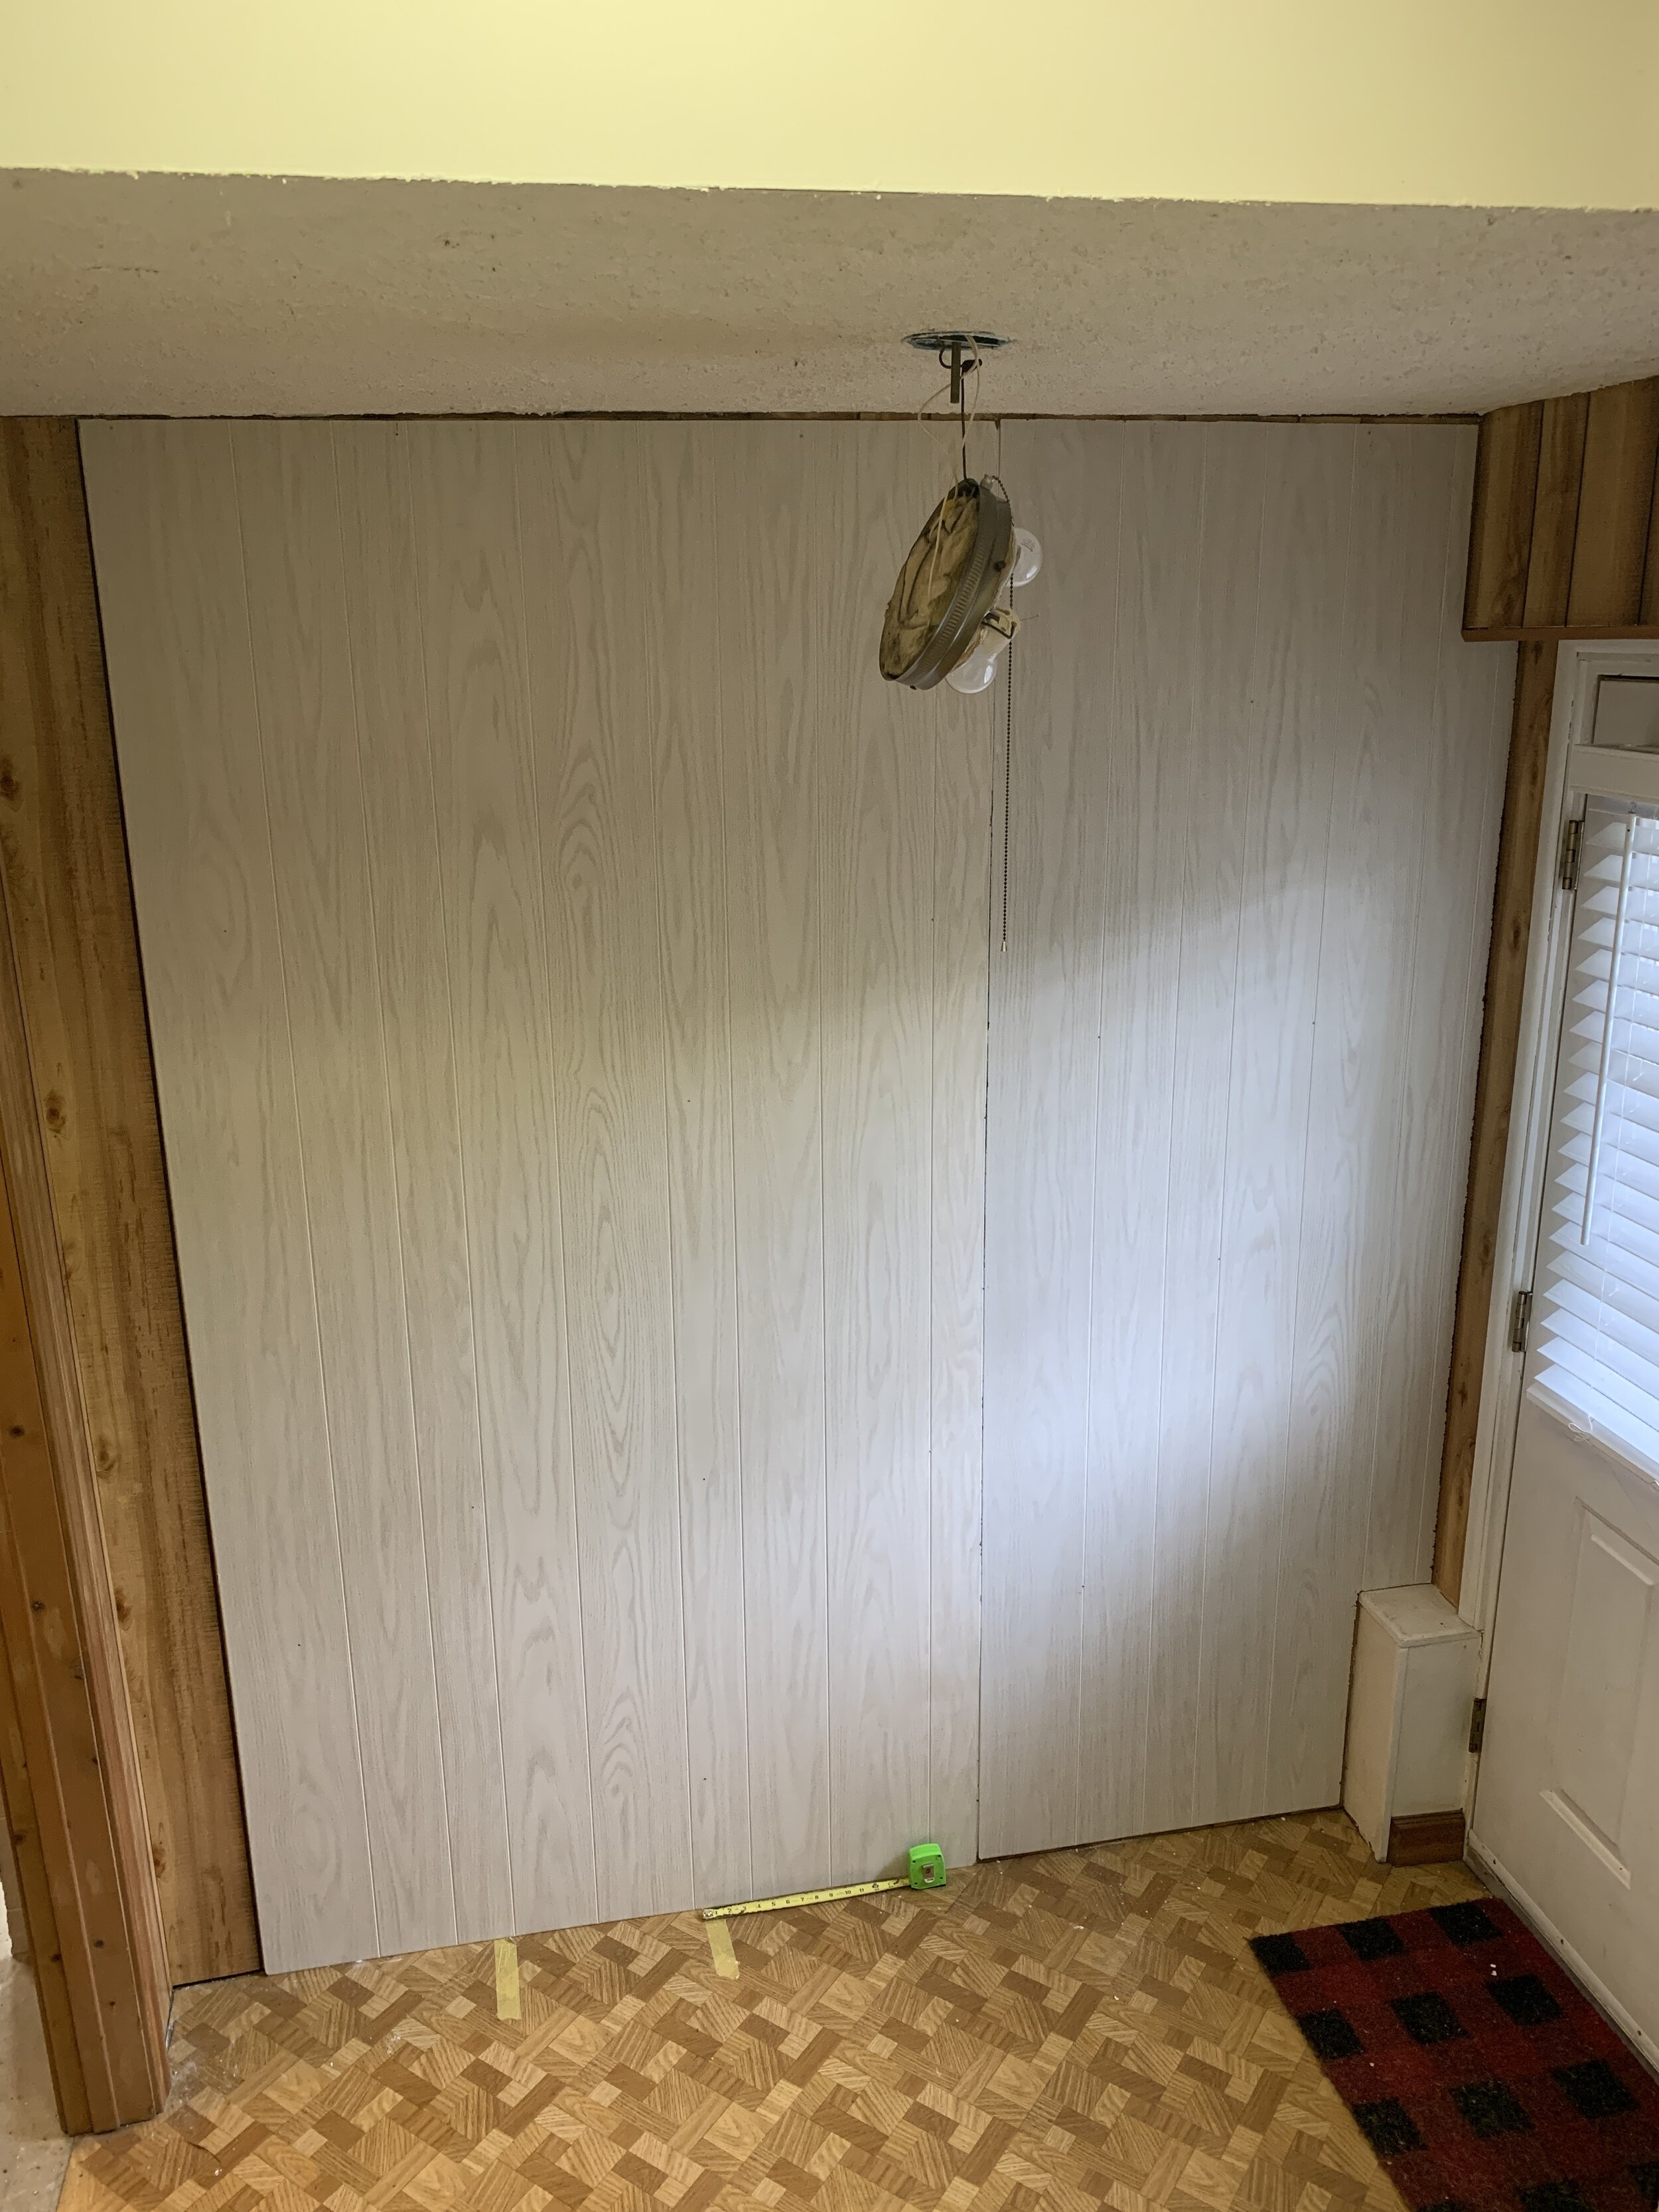
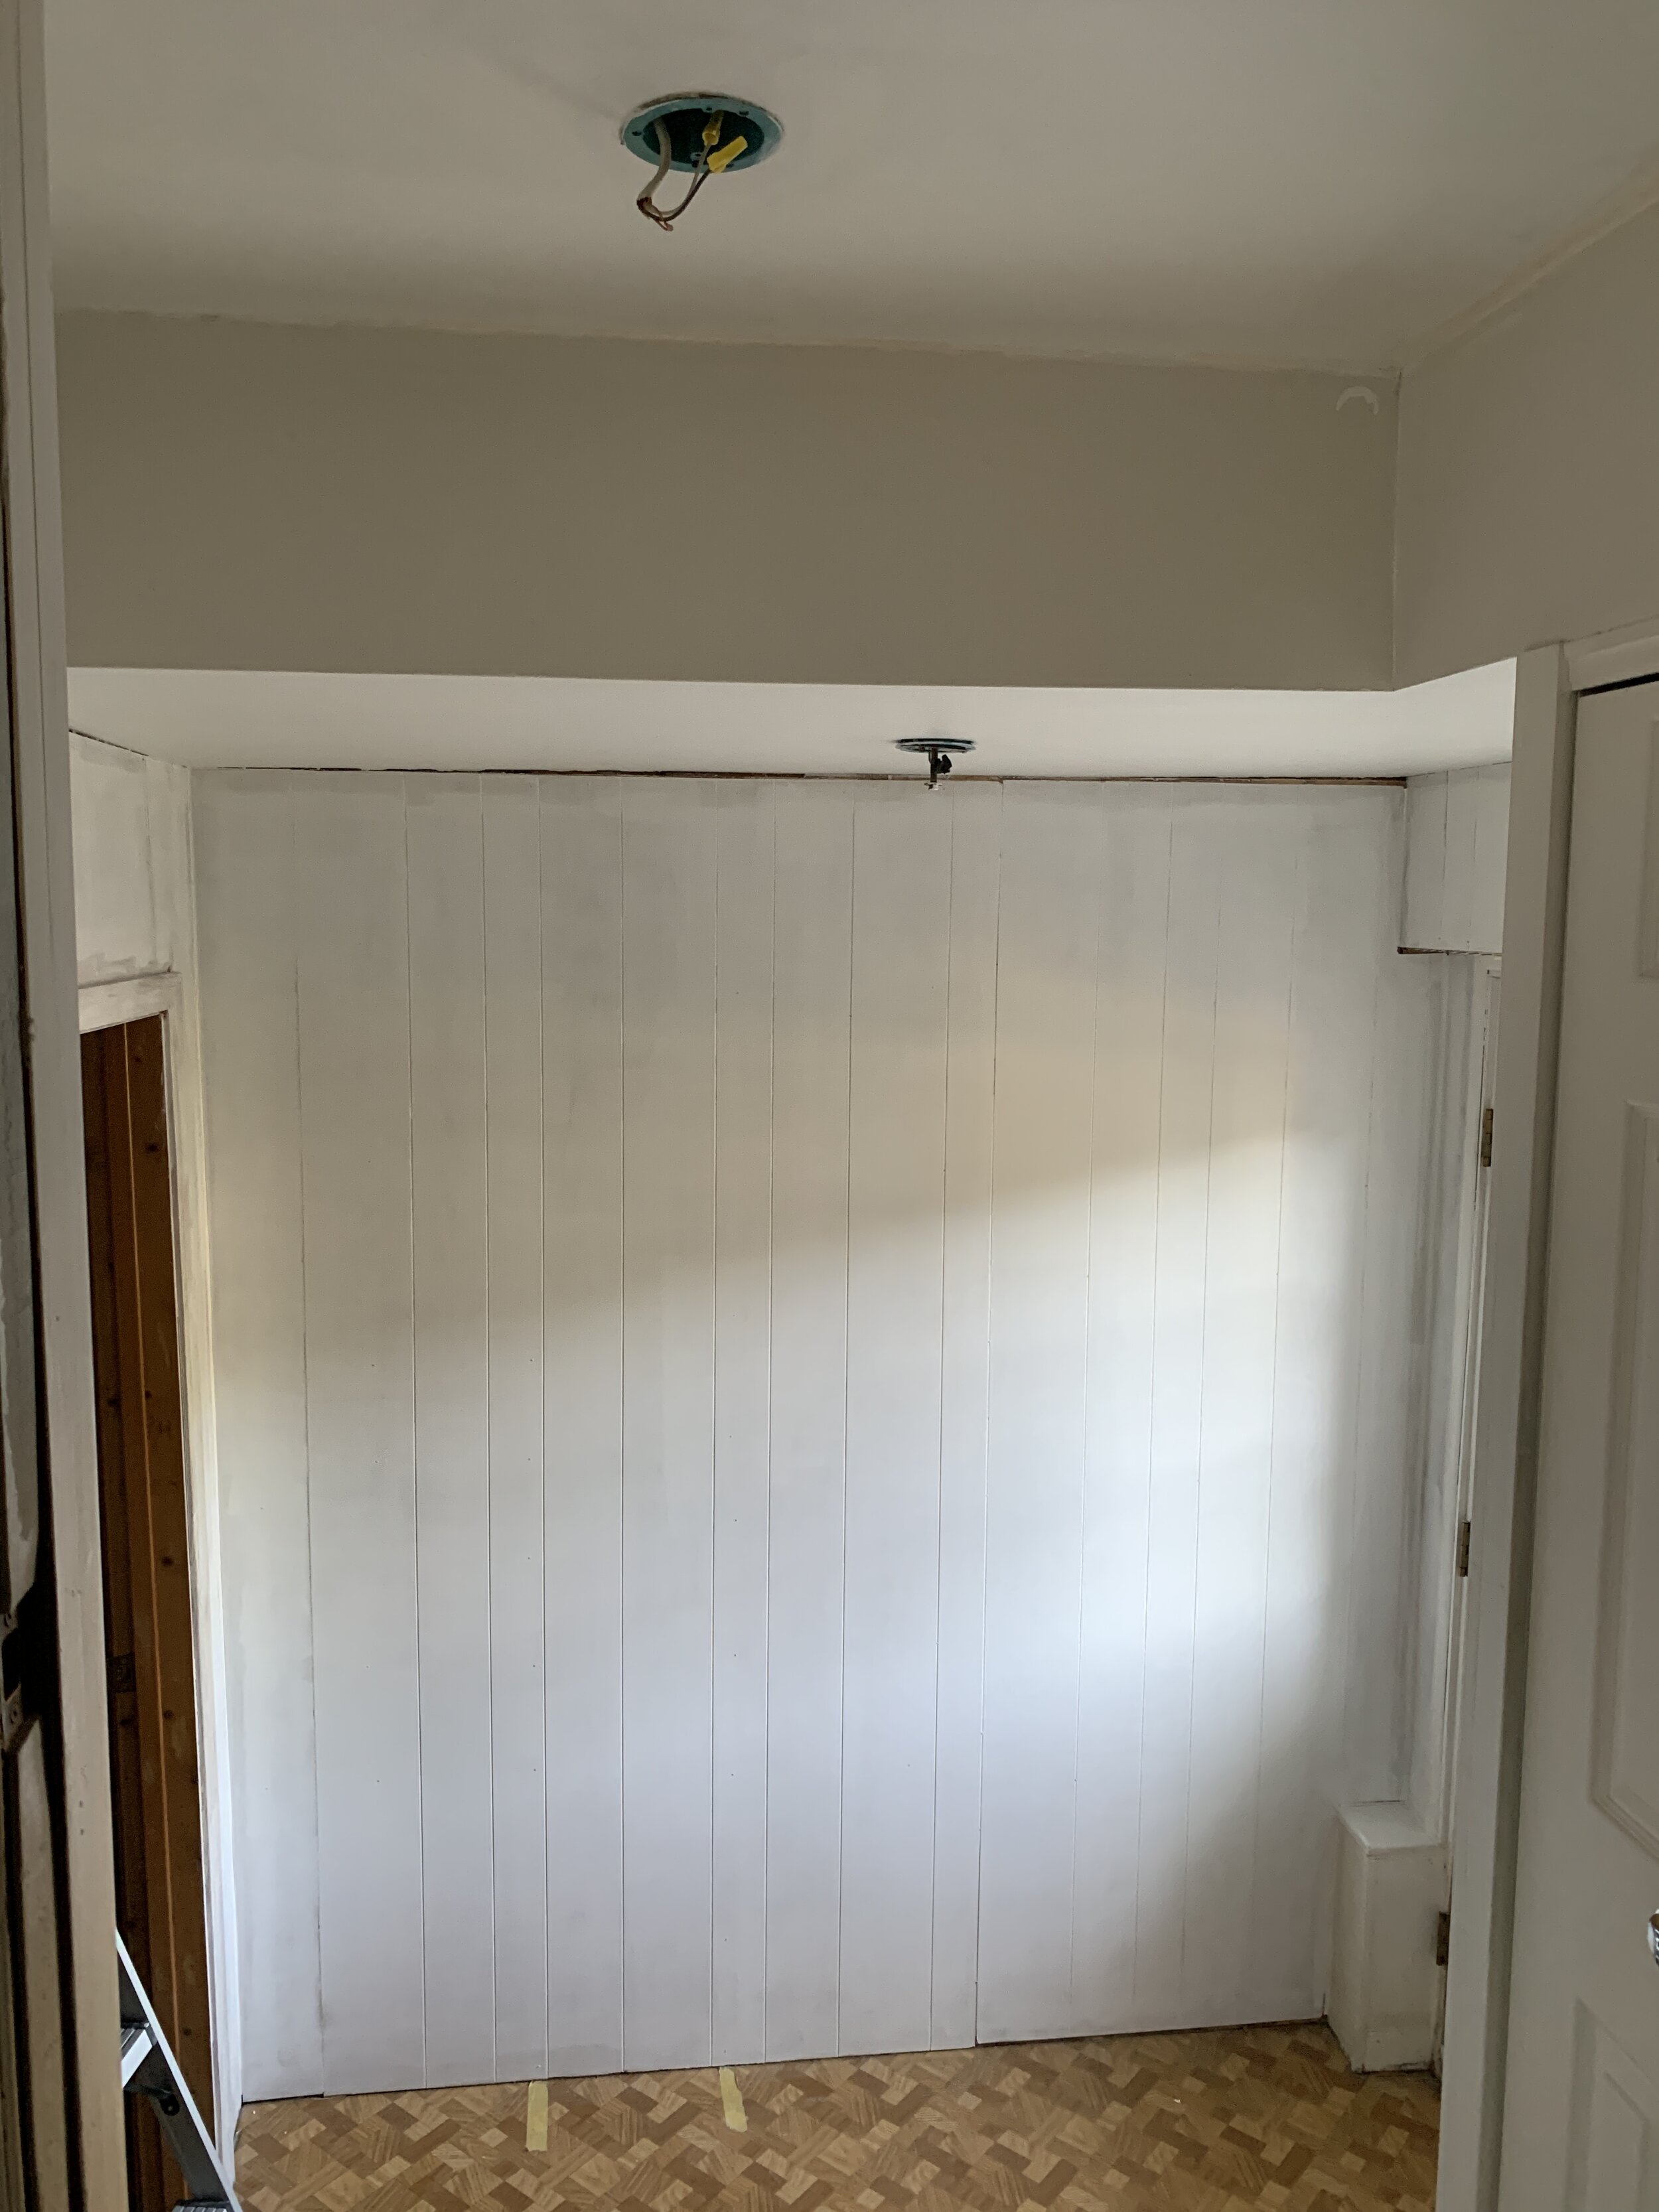
I used this paneling from Lowe’s and nailed it to the wall. I actually purchased additional pieces for the ceiling because I had no intention of scraping it. The top level was the same kind of popcorn we had throughout the house, but the lower level was something entirely different. Because we hadn’t tested it for *scary old man voice* asbestos, I was planning on playing it safe and attaching the paneling directly over the popcorn to the ceiling, but apparently using a stud finder isn’t one of my acquired skills because after about 50 nail holes and not a stud in sight, I gave up and started scraping.
It was a nightmare to scrape and even worse to sand, but I did it!!!
I caulked where the paneling pieces met and at the corners to give it a less harsh line. I also pulled the astroturf from the stairs (why god) and broke about every single one of my fingernails in the process. But I’m really happy with how they turned out, so WORTH IT.
Also, if you look at the last photo you can see a sneak peek of the color I used for the mudroom. It’s my favorite green!
Coming up: my first effort at installing a light fixture by myself, the painted paneling, what I did with the stairs, a quick, cheap, and easy DIY I did to freshen up the closets, and the new floors (!!!!!!!!!!!!!!!!).
If you have any questions, let me know in the comments. And stay tuned for the finished product!
Happy Friday!
